
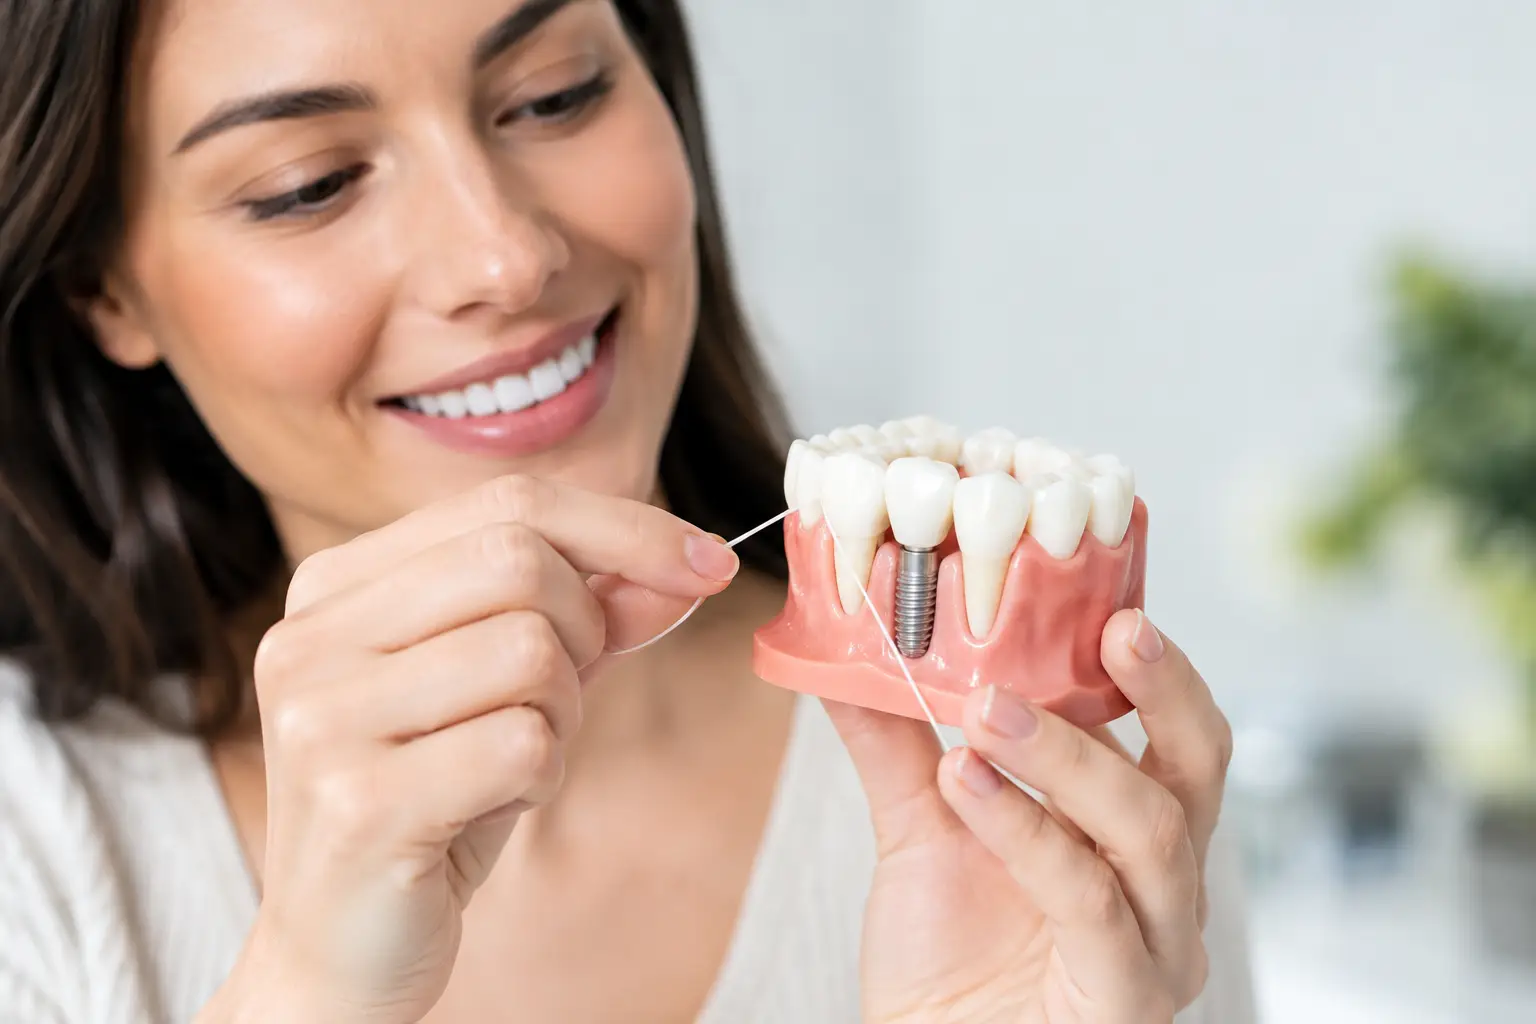
A dental implant crown cannot get a cavity, but the gum tissue and bone supporting it still need daily care. Knowing how to floss dental implants can help remove plaque where a toothbrush cannot reach, protect your investment, and keep your mouth feeling fresh. The key is using a gentle technique and the right tool for the type of implant restoration you have.
Why Flossing Around Implants Matters
A dental implant is designed to function much like a natural tooth. It includes a titanium post in the jawbone and a custom crown, bridge, or denture above the gums. While the restoration itself does not decay, bacteria can still collect around the gumline and beneath the crown or bridge.
When plaque is not removed consistently, the gums around an implant can become irritated and bleed. Early inflammation around an implant is often called peri-implant mucositis. When inflammation progresses and affects the supporting bone, it can lead to peri-implantitis, a more serious condition that may threaten the stability of the implant.
Flossing is not about scrubbing aggressively. It is about disrupting plaque gently each day before it has time to harden into tartar. Your home care routine, along with regular professional cleanings, gives your implant the best opportunity for long-term success.
How to Floss Dental Implants Step by Step
For a single implant crown, flossing may look very similar to flossing a natural tooth. The difference is that you should be especially careful around the gumline and avoid snapping floss down with force.
Choose a Gentle, Implant-Friendly Tool
Traditional floss can work well around a single implant crown, particularly if there is a normal contact point between the implant and neighboring tooth. Many patients find that soft dental tape is more comfortable because it is wider and less likely to cut into sensitive gum tissue.
If you have an implant bridge, a full-arch restoration, or a denture attached to implants, you may need a floss threader or specialty implant floss. These tools have a firmer end that helps guide the floss beneath the artificial teeth. The thicker, soft section can then clean the area where the restoration meets the gums.
Interdental brushes can also be useful in spaces around implants, but the size matters. A brush that is too large can irritate the gums, while one that is too small may not clean effectively. Your dentist or hygienist can recommend a size and style that fits your restoration without causing pressure.
Follow This Gentle Daily Technique
Use about 18 inches of floss so you can move to a clean section as you work around your mouth. Guide the floss between the teeth with a controlled motion rather than forcing it down quickly.
Once the floss is below the contact point, curve it gently around the side of the implant crown in a C-shape. Move it up and down against the surface of the crown, extending slightly below the gumline without pushing deeply or forcefully into the tissue. Then clean the side of the neighboring tooth before removing the floss.
Avoid a harsh back-and-forth sawing motion. It may feel like you are cleaning more thoroughly, but aggressive flossing can traumatize the gums. A few deliberate vertical strokes on each side are usually enough to remove plaque.
If floss shreds, catches repeatedly, or will not pass between your implant crown and another tooth, do not keep forcing it. Sometimes this points to a rough edge, cement residue, or a contour that needs to be checked by your dentist.
Cleaning Under an Implant Bridge
A bridge supported by implants has a space underneath it that a standard toothbrush cannot fully reach. This area is easy to overlook, especially toward the back of the mouth. Threading floss beneath the bridge once a day helps clean the underside of the artificial teeth and the gum tissue below.
Pass the stiff end of specialty floss or a floss threader under the bridge. Pull the soft floss through, then move it gently back and forth beneath the restoration and along the gumline. Work from one end of the bridge to the other rather than cleaning only the spots that are easiest to access.
A water flosser can be a helpful addition for flushing food particles from beneath a bridge. It should not replace floss or interdental cleaning when your dentist has recommended those tools, but it can make daily care easier for patients with limited dexterity, busy schedules, or larger restorations.
Cleaning Full-Arch Implant Restorations
For implant-supported dentures or fixed full-arch teeth, cleaning beneath the restoration is especially important. Food debris and plaque can collect between the prosthetic teeth and gums, even when the teeth look clean from the front.
Specialized floss threaders, soft proxy brushes, and water flossers are commonly recommended for these restorations. Your care instructions will depend on whether your denture is removable, fixed in place, or attached by locator-style connectors. Do not assume that one routine fits every implant restoration. A personalized demonstration at your cleaning visit can save you frustration and help prevent damage.
What Should You Use Besides Floss?
Floss is one part of implant care, not the entire routine. Brush twice a day with a soft-bristled toothbrush and nonabrasive toothpaste. Pay close attention to the gumline around each implant crown, using gentle circular motions instead of pressing hard.
An electric toothbrush may be a good option if you have trouble maintaining a consistent technique. Some patients also benefit from a low-abrasion implant brush or a small end-tuft brush for reaching behind molars and along the edges of a bridge.
Mouthwash may help reduce bacteria and freshen breath, but it cannot physically remove plaque. If you use one, choose it based on your dentist’s recommendation. Some patients need a prescription rinse for a short period after treatment, while others do well with an alcohol-free over-the-counter rinse.
Signs You Should Call Your Dentist
Healthy gums around an implant should generally look pink and feel comfortable. A small amount of tenderness when you first resume flossing can happen if your gums are inflamed, but bleeding and soreness should not become your normal routine.
Contact your dentist if you notice bleeding that continues for more than a few days, swollen or receding gums, persistent bad breath, pus, a bad taste, pain when chewing, or an implant crown that feels loose. These symptoms do not always mean the implant is failing, but they deserve prompt attention.
It is also wise to schedule a visit if you are unsure which cleaning tools are safe for your implant. Using a tool incorrectly is less helpful than getting a quick demonstration from a dental professional who can see the shape and placement of your restoration.
Common Flossing Mistakes to Avoid
The most common mistake is skipping the area around the implant because it does not hurt or because the crown looks clean. Plaque can build up below the visible gumline long before there is obvious discomfort.
Another issue is using too much force. Snapping floss down, aggressively digging beneath the gums, or using a tight interdental brush can leave the tissue sore. Gentle, consistent cleaning is more protective than occasional heavy-handed cleaning.
Finally, do not rely on a water flosser alone unless your dentist has specifically advised it for your situation. It is excellent for rinsing and reaching difficult areas, but it may not remove sticky plaque as completely as floss or an interdental brush against the implant surface.
Keep Your Implant Care Personal
Implant care is not one-size-fits-all. The best technique depends on whether you have one implant crown, several implants, a bridge, or a full-arch restoration, as well as the health of your gums and the spacing of your teeth. At Dental Care of Plano, Dr. Banerjee and the team can show you a comfortable, practical routine during your hygiene visit and make adjustments as your needs change.
A few focused minutes each day can make a meaningful difference. If flossing feels difficult, causes bleeding, or leaves you wondering whether you are reaching the right areas, bring your tools to your next appointment and ask for a hands-on demonstration.